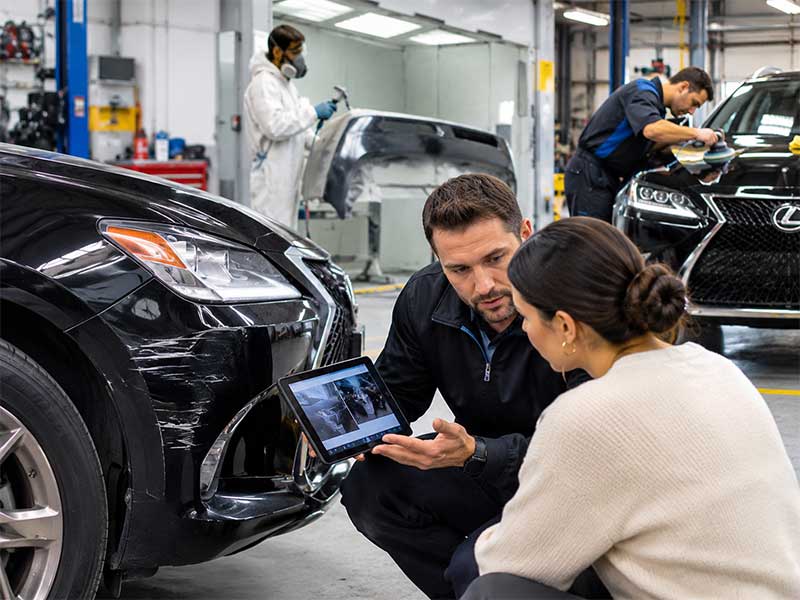
The smash repair process can feel confusing if you have never needed it. After an accident, you may face quotes, insurers, parts and paint, all at the same time. This guide explains the smash repair process step by step, from the first assessment to the day you collect your car. It also shows what can change the plan along the way.
The Smash Repair Process at a Glance
Every repair is different. However, most jobs follow the same eight stages:
- Safety, towing and first contact
- Inspection and quote
- Insurance approval and paperwork
- Dismantling and parts ordering
- Panel repair or replacement
- Preparation, paint and colour matching
- Reassembly and quality checks
- Handover and aftercare
Step 1: Safety, Towing and First Contact
Safety comes first. If the car is unsafe to drive, arrange a tow instead of risking the road. Then call your repairer, and tell them what happened. If the accident was not your fault, our guide on what to do after a not at fault accident covers the first steps.
Step 2: Inspection and Quote
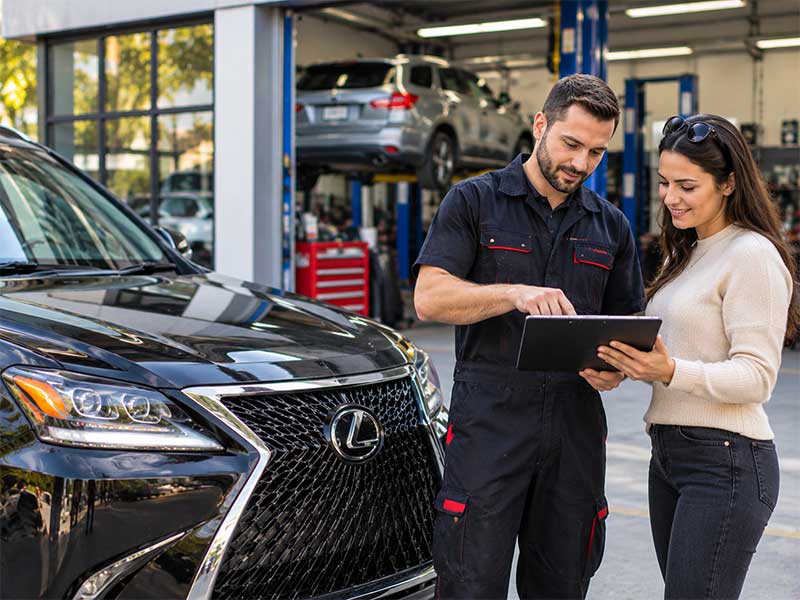
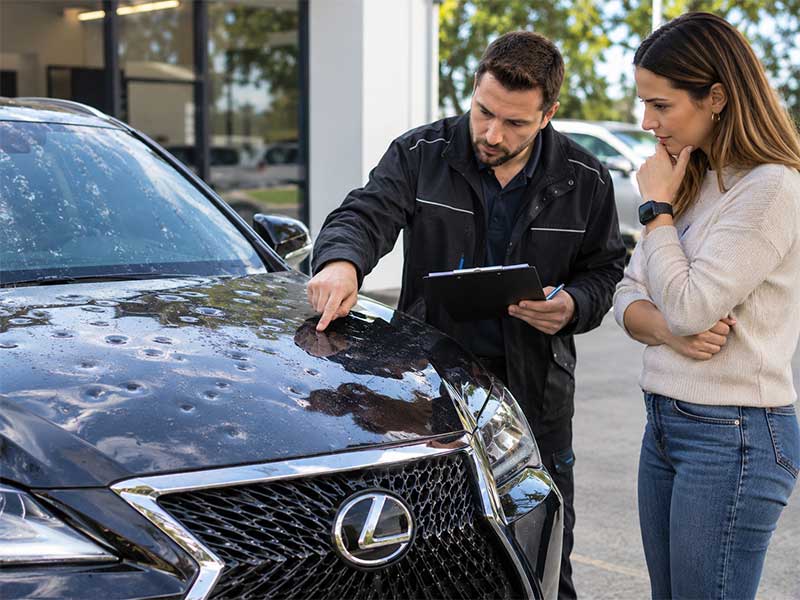
Next, a technician inspects the damage and takes photos. They check panels, paint, lights and the parts behind the damage. Then they prepare a quote that lists the repairs needed. Ask for the quote in writing, and ask what each item covers.
For minor knocks, a bumper repair may be enough. Larger damage may need collision repair. Our smash repairs page explains the range of work we handle.
Step 3: Insurance Approval and Paperwork
If you are claiming on insurance, the insurer usually needs to approve the repair. This step can involve forms, photos and assessor visits. We assist with insurance claims by liaising with insurers and managing the paperwork. Our page on insurance claim management explains how this works.
Step 4: Dismantling and Parts Ordering
Once the repair is approved, the team removes damaged parts. Sometimes extra damage appears at this stage, because panels hide what lies beneath. If that happens, we explain what we found before any extra work begins. Parts are then ordered, and availability can affect the schedule.
Step 5: Panel Repair or Replacement
Technicians repair dents and creases where they can. When a panel is too damaged, replacement may be the better choice. Our pages on car body repair and car panel repair explain how we decide between the two.
Step 6: Preparation, Paint and Colour Matching
Good paint depends on good preparation. The surface is sanded, filled where needed and cleaned before any paint goes on. We then use colour matching, so repaired areas blend with the rest of the car. For more on finishing work, see our paint and dent repair and paint respray pages.
Step 7: Reassembly and Quality Checks
After painting, the car is put back together. The team checks panel gaps, lights, trim and the overall finish. Finally, they test that everything fits and works as it should.
Step 8: Handover and Aftercare
At handover, we talk you through the work. Ask about washing and care for the new paint, and keep your paperwork. If something does not look right, tell us straight away. Should a dispute ever arise, Consumer Affairs Victoria explains your consumer rights, and insurance disputes can go to AFCA.
What Can Change the Smash Repair Process?
Several things can change the plan. The extent of the damage matters most. Hidden damage, parts availability and insurer approval also play a part. Because of this, a repairer can only give a firm estimate after a proper inspection. Ask for updates at each stage, so there are no surprises.
The Smash Repair Process at Vikas Motors
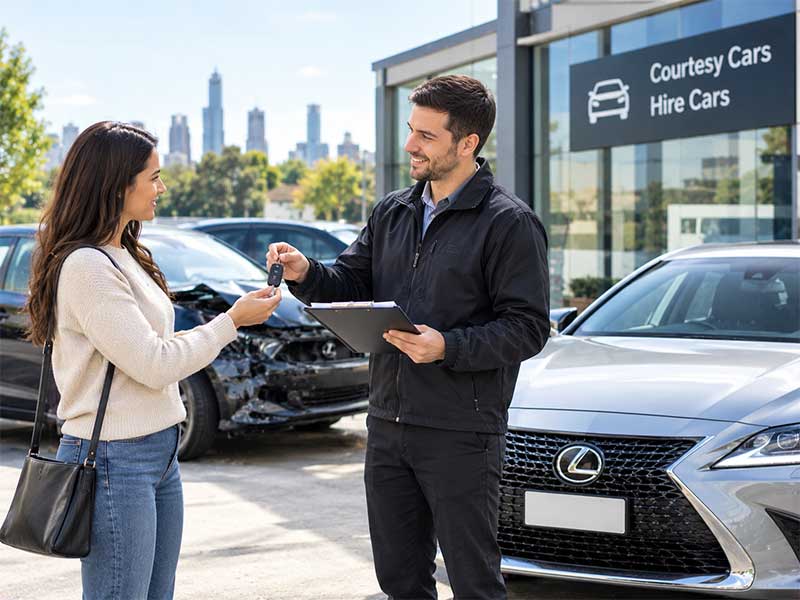
At Vikas Motors, we repair almost every make and model, from small hatchbacks to family SUVs. A free courtesy car is available, so ask us when you book. One customer wrote on Google that we “handled both the mechanical work and smash repairs flawlessly.” Customers rate us 5.0 from 33 Google reviews.
Our workshop is at 60 Yellowbox Dr, Craigieburn VIC 3064, open Monday to Sunday, 9:00 AM to 6:00 PM. We help drivers across Melbourne’s north, including Epping, Campbellfield and Westmeadows. See our accident repair page for more detail.
Questions to Ask About the Smash Repair Process
Before you approve a repair, ask a few simple questions. Good repairers are happy to answer them.
- What exactly will be repaired, and what will be replaced?
- Might extra damage appear once panels are removed?
- How will you keep me updated during the repair?
- Will the paint be colour matched to my car?
- Is a courtesy car available while I wait?
Clear answers show that the workshop understands the smash repair process and respects your time.
Signs of a Quality Smash Repair
When you collect your car, take time to look it over in good light. A quality repair has even panel gaps and a smooth finish. The paint should match the neighbouring panels, and the doors and boot should close properly. Lights, trim and badges should sit neatly. Also check that there is no overspray on rubber seals or glass.
If anything looks wrong, say so before you leave. A professional workshop will check it and fix genuine problems. For this reason, collecting the car in daylight is a smart habit.
Smash Repair Process FAQs
It depends on the damage, parts availability and insurer approval. Ask us for an estimate when we assess your car, and we will keep you updated as the work progresses.
Yes. A technician inspects the damage first, so the quote reflects the repairs your car needs. Extra damage can appear once panels are removed, and we explain it before any extra work begins.
Yes. We assist with insurance claims by liaising with insurers and managing the paperwork. Contact us with the details of the accident and we will explain the next steps.
We use colour matching so repaired areas blend with the rest of the vehicle’s paint.
A free courtesy car is available. Ask us when you book, so we can confirm availability for your repair.
Start Your Smash Repair Process
Ready to start the smash repair process? Call 0405274085 or book online. Send us your vehicle details and photos of the damage, and we will arrange an assessment.